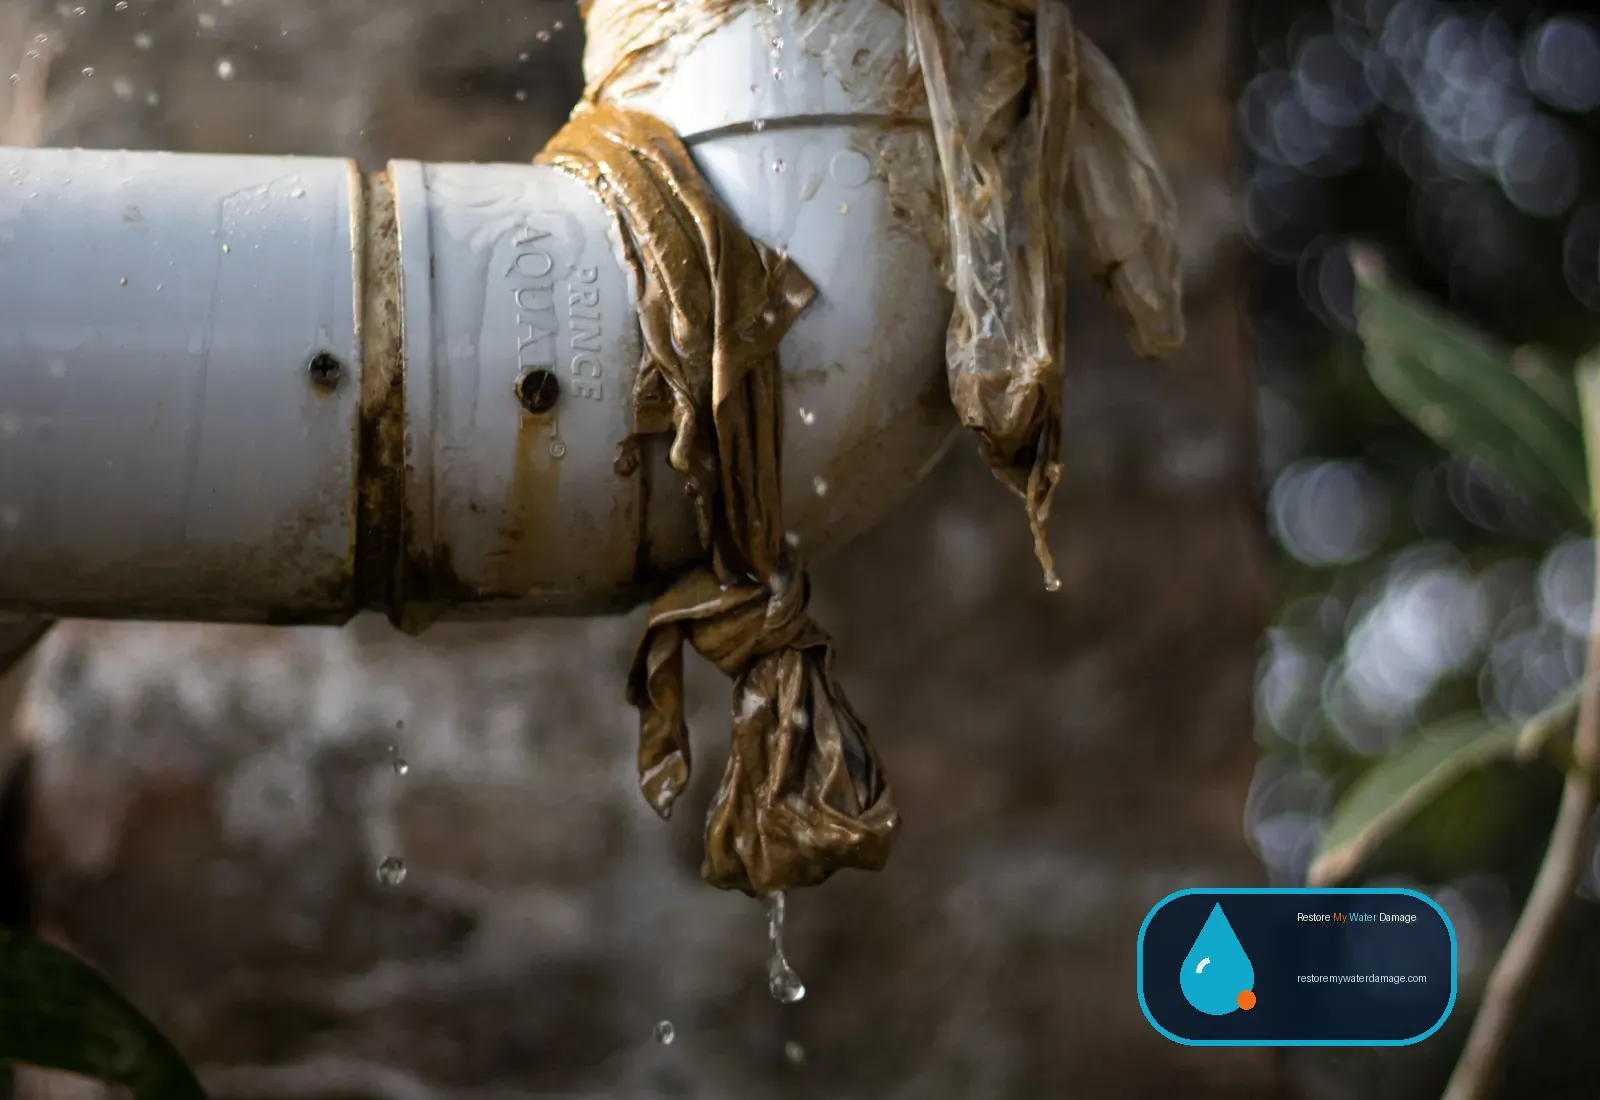
A burst pipe can release a large volume of water in a short time, and because supply lines are pressurized, the flow does not stop until someone closes a valve. Water sprays into wall cavities, runs across floors, soaks through ceilings to the floor below, and wicks into cabinets and trim. The faster the water is shut off and the drying begins, the more of your home or building can be saved. This guide walks through exactly what to do, how professional cleanup works, and what to know about frozen pipes, supply line failures, slab leaks, costs, and insurance.
What should you do immediately when a pipe bursts?
Stop the water, eliminate electrical hazards, and limit spread. Close the main shutoff valve, open a low faucet to relieve pressure, turn off power to wet areas if you can reach the breaker safely, move belongings out of the water, and photograph the damage. Then call a plumber to repair the pipe and a restoration company to extract water and start drying.
Burst pipe emergency checklist
- Close the main water valve. Common locations include basement walls facing the street, crawlspaces, utility closets, garages, near the water heater, or in a meter box outside. Turn clockwise to close.
- Turn off the water heater if the main has been shut off for an extended period, following manufacturer guidance, to avoid damaging it.
- Address electrical hazards. Shut off breakers to affected rooms only if the panel area is dry. If not, leave the area and call an electrician or the utility.
- Drain the lines. Open the lowest cold water faucet and flush toilets to release water still in the pipes.
- Protect people. Keep everyone clear of bulging ceilings and slippery floors.
- Document the damage. Take photos and video of the burst pipe, wet areas, ceilings below, and damaged belongings.
- Move contents. Lift furniture, rugs, electronics, and documents off wet floors. Put foil or plastic under furniture legs.
- Soak up what you safely can with towels and mops if the water is clean.
- Call your insurer to report the loss and ask about their process.
- Call professionals. A plumber for the pipe and a restorer for drying. Call (833) 435-4276 — we answer 24 hours a day, 7 days a week.
Know where your shutoff valves are
Most fixtures also have individual shutoff valves, usually under sinks, behind toilets, and behind washing machines. Knowing these can let you isolate a failure without shutting off the whole home. Label your main shutoff now, before an emergency, and make sure every adult in the household knows how to use it.

Why do pipes burst?
Pipes burst when internal pressure exceeds what the pipe or fitting can hold. The most common causes are freezing water expanding inside the pipe, corrosion that thins pipe walls, failed fittings and connectors, excessively high water pressure, physical damage during renovations, and aging supply lines to appliances and fixtures. Some failures are sudden ruptures, while others start as pinhole leaks that eventually give way.
| Cause | How it happens | Warning signs |
|---|---|---|
| Freezing | Ice forms and pressure builds between the ice blockage and a closed faucet | Reduced flow in cold weather, frost on pipes |
| Corrosion | Chemical reactions thin metal pipes over time | Discolored water, pinhole leaks, green or white crust on fittings |
| Supply line failure | Braided or plastic lines to toilets, sinks, and appliances fray or crack | Bulging, rust on braid, kinks, age over several years |
| High water pressure | Stress on pipes, joints, and appliance valves | Banging pipes, running toilets, leaking valves |
| Failed fittings | Loose or degraded joints, push-fit connectors, or crimp rings | Drips at joints, mineral deposits |
| Physical damage | Nails, screws, or drilling during remodeling | Leak appears after construction work |
| Ground movement | Settling or shifting soil stresses under-slab or buried lines | Cracks in floors, slab leak symptoms |
How do frozen pipes cause water damage?
When water freezes inside a pipe, it expands and creates pressure between the ice blockage and a closed faucet. The pipe often splits somewhere other than where the ice formed. Many frozen pipe bursts go unnoticed until the ice thaws and water begins flowing, which is why damage frequently appears when temperatures rise after a cold snap.
Pipes most at risk of freezing
- Pipes in exterior walls, especially on north-facing sides
- Lines in unheated attics, crawlspaces, garages, and basements
- Outdoor hose bibbs and irrigation lines
- Pipes under kitchen and bathroom sinks on exterior walls
- Plumbing in vacant or seasonal properties where heat was lowered
- Fire sprinkler lines in unheated areas of commercial buildings
How to safely thaw a frozen pipe
- Open the faucet the pipe feeds so water can flow as the ice melts.
- Locate the frozen section, often where the pipe runs through a cold area.
- Apply gentle heat with a hair dryer, heating pad, or space heater kept a safe distance from flammable materials.
- Start warming near the faucet and work toward the frozen section.
- Never use an open flame, torch, or propane heater on pipes.
- Keep checking for leaks as the pipe thaws; be ready to shut off the main.
- Call a plumber if you cannot find or reach the frozen area or if the pipe has already split.
Preventing frozen pipes
- Insulate exposed pipes in unheated spaces with foam sleeves.
- Disconnect garden hoses and shut off and drain exterior spigots before winter.
- During hard freezes, let faucets on exterior walls drip slightly and open cabinet doors under sinks.
- Keep the thermostat at a consistent temperature, including when away.
- Seal drafts near pipes in crawlspaces, rim joists, and garages.
- For vacant properties, consider draining the system or installing freeze alarms and automatic shutoff devices.
Some insurance policies limit coverage for freeze damage if a property was vacant or unheated without reasonable care, such as maintaining heat or draining the system. Check your policy before leaving a property empty in winter.
What is a supply line failure?
A supply line failure is the rupture or disconnection of the flexible hose that delivers water to a fixture or appliance, such as a toilet, faucet, refrigerator ice maker, dishwasher, or washing machine. Because these lines are under constant pressure, a failure can release water continuously until someone notices, often causing significant damage when it happens overnight or while occupants are away.
Common supply line problems
- Toilet supply lines: plastic coupling nuts can crack, and braided lines can fray.
- Washing machine hoses: rubber hoses degrade and burst; many manufacturers recommend periodic replacement.
- Refrigerator ice maker lines: thin plastic tubing can crack or be pinched when the fridge is moved.
- Dishwasher lines: connections under the sink or behind the unit loosen or corrode.
- Faucet supply lines: aging braided lines under sinks corrode or fail at crimped ends.
Supply line inspection checklist
- Look for bulges, kinks, cracks, or rust on the braid.
- Check for moisture or mineral deposits at connection points.
- Note installation dates and replace lines that are aging.
- Use braided stainless steel lines rather than plain rubber where appropriate.
- Leave a few inches of clearance behind washers and refrigerators to prevent kinks.
- Consider water leak detectors near appliances and automatic shutoff valves.

What is a slab leak and how is it cleaned up?
A slab leak is a leak in water lines running beneath or within a concrete foundation slab. Water can seep up through the concrete into flooring, pool under cabinets, or travel into walls. Cleanup requires locating and repairing the leak, often by breaking out a section of slab or rerouting the line, followed by drying flooring, walls, and the slab itself, which can take longer than drying typical framing.
How slab leaks are found
Plumbers commonly use a combination of water meter tests, pressure isolation tests to identify which line is leaking, acoustic listening equipment to hear water escaping, and thermal imaging to spot warm areas from hot water lines. Accurate location matters because it limits how much concrete and flooring must be disturbed.
Repair options
- Spot repair: breaking out concrete over the leak and replacing the damaged section.
- Rerouting: abandoning the under-slab line and running new piping through walls or ceilings.
- Repiping: replacing larger portions of the plumbing if multiple leaks or widespread corrosion exist.
Drying after a slab leak
Concrete absorbs water and releases it slowly. Flooring over the slab, such as carpet, laminate, engineered wood, or tile, may need removal to let the slab dry. Restorers use dehumidifiers, air movers, and sometimes heat to encourage drying, and they measure concrete moisture before flooring is reinstalled, because many flooring products have manufacturer moisture limits. Water that spread into bottom plates and drywall is dried or removed as with any other loss.
How does professional burst pipe water damage cleanup work?
Professional burst pipe cleanup follows IICRC S500 guidelines: confirm the water is off, inspect and map moisture, classify the water category and class, extract standing water, remove materials that cannot be dried, set up dehumidification and air movement, monitor daily, and verify dryness. Once the structure is dry and the plumber has repaired the pipe, reconstruction restores drywall, flooring, and finishes.
Step 1: Inspection and moisture mapping
Technicians use penetrating and non-penetrating moisture meters, thermo-hygrometers, and thermal imaging to find every wet area. Water from burst pipes commonly migrates under baseboards, into adjacent rooms, and to lower floors.
Step 2: Category and class assessment
A pressurized supply line usually begins as Category 1, but water may degrade with time and contact. The class reflects how much absorbent material is wet. Our guide to clean vs. gray vs. black water explains the differences.
Step 3: Extraction
Truck-mounted or portable extractors remove standing water and water held in carpet. Thorough extraction is one of the most efficient ways to shorten drying time. Read more about water extraction vs. drying.
Step 4: Controlled removal
Wet carpet pad, saturated drywall, insulation, and swollen particleboard are removed where drying in place is not feasible. The goal is to remove only what is necessary while allowing hidden cavities to dry.
Step 5: Drying setup
Low-grain refrigerant or desiccant dehumidifiers pull moisture from the air while air movers accelerate evaporation. Specialty equipment may be used for hardwood floors, cabinets, and wall cavities.
Step 6: Monitoring and adjustment
Daily readings track progress. Equipment is repositioned or removed as materials reach their drying goals.
Step 7: Cleaning and antimicrobial application
Surfaces are cleaned and, where appropriate, treated to reduce microbial growth risk.
Step 8: Verification and handoff to repairs
When readings match the drying goals, equipment is removed and the property is ready for plumbing access to be closed up and reconstruction to begin. See our water extraction and structural drying services for more on this phase.

What parts of a home are most affected by burst pipes?
Burst pipes most often damage drywall, insulation, flooring, subfloors, cabinets, and ceilings below the leak. Because the water is pressurized, it can spray into cavities and travel along framing. Kitchens and bathrooms suffer cabinet and toe-kick damage, second-floor leaks bring down ceilings, and basement bursts can soak finished walls, carpet, and stored belongings.
| Area | Typical damage | Common restoration approach |
|---|---|---|
| Walls | Wet drywall and insulation, swollen baseboards | Cavity drying or flood cuts, insulation removal if saturated |
| Ceilings below | Staining, sagging, collapse | Safe removal of saturated sections, drying of joists |
| Carpet and pad | Saturation, delamination risk | Extraction; pad often replaced |
| Hardwood | Cupping, crowning, gaps | Specialty floor drying mats, monitoring |
| Laminate and vinyl plank | Swelling, trapped water underneath | Often removed to dry subfloor |
| Cabinets | Swollen bases, wet voids behind | Toe-kick removal, cavity drying, or replacement |
| Subfloor | Wet plywood or OSB | Drying from above and below; replacement if delaminated |
| Contents | Wet furniture, documents, electronics | Pack-out, cleaning, drying, or documentation for claims |
How much does burst pipe water damage cleanup cost?
Burst pipe cleanup costs vary widely. As a general national industry estimate, a contained leak caught quickly might cost somewhere in the range of a few hundred to a few thousand dollars for mitigation, while large, multi-room or multi-level losses can cost considerably more before reconstruction and plumbing repairs. Location, category, square footage, materials, and response time all affect the final price.
Key cost drivers
- How long water flowed before shutoff
- Number of rooms and levels affected
- Whether ceilings, cabinets, or hardwood floors are involved
- Water category and time before mitigation
- Slab leak location and access
- Plumbing repair or repiping needs
- Reconstruction scope and finish quality
Detailed ranges and estimate factors are in our water damage restoration cost guide.
Will insurance pay for burst pipe damage?
Many homeowners policies cover sudden and accidental discharge of water from plumbing, including resulting damage to the structure and belongings. The pipe repair itself, gradual leaks, and wear-related failures are often excluded. Frozen pipe losses in vacant or unheated homes may be limited. Slab leaks may have special provisions for tear-out and access. Coverage depends entirely on your policy.
Tips for a smoother burst pipe claim
- Report the loss promptly and follow your insurer's instructions.
- Keep the failed pipe section or supply line if possible; it may be requested.
- Photograph the source, the damage, and the moisture readings.
- Take reasonable steps to prevent further damage, such as shutting off water and starting drying.
- Keep receipts for plumbing, mitigation, and temporary housing.
- Request copies of your restorer's drying logs and scope documentation.
- Ask about additional living expense coverage if the home is not habitable.
See how to file a water damage insurance claim for a complete walkthrough.
Can you clean up burst pipe water damage yourself?
You can handle small, clean-water spills that are caught immediately and only affect surfaces you can fully dry, such as a few square feet of tile. Once water soaks into drywall, insulation, carpet pad, subfloors, cabinets, or ceilings, professional drying is usually warranted because hidden moisture is difficult to detect and dry without meters, commercial dehumidifiers, and air movers.
- Reasonable DIY: mopping a small clean spill on hard flooring, drying with fans, and monitoring for a few days.
- Call a professional: water in walls or ceilings, wet carpet over large areas, multiple rooms, any contamination, water left more than a day, hardwood floors, or any sign of mold.
Household fans and dehumidifiers often cannot remove moisture fast enough from structural materials. Surfaces can feel dry while cavities remain wet. For help deciding, our water damage restoration checklist and page on water damage cleanup provide more guidance.
How can you prevent burst pipes?
Prevention focuses on temperature, pressure, and maintenance. Insulate vulnerable pipes, keep heat on in cold weather, keep water pressure within a reasonable range, replace aging supply lines, and consider leak detectors or automatic water shutoff systems. Regular inspections by a plumber can catch corrosion and failing fittings before they rupture.
- Have water pressure checked; install or service a pressure-reducing valve if it runs high.
- Replace washing machine hoses and toilet and faucet supply lines on a regular schedule.
- Insulate pipes in exterior walls, attics, crawlspaces, and garages.
- Shut off and drain outdoor faucets before freezing weather.
- Install water leak sensors near water heaters, washers, dishwashers, and sinks.
- Consider a whole-house automatic shutoff valve, especially for second homes.
- Know and test your main shutoff valve periodically.
- Watch water bills for unexplained increases that suggest hidden leaks.
For more ideas, read our water damage prevention guide. If a pipe has already burst, call (833) 435-4276 — we answer 24 hours a day, 7 days a week with Restore My Water Damage.
Does the type of pipe affect burst risk?
Yes. Pipe material influences how pipes age, how they respond to freezing, and how they typically fail. Copper can develop pinhole leaks from corrosion, galvanized steel rusts from the inside out, PEX tolerates some expansion but relies on fittings that can fail, CPVC can become brittle with age, and polybutylene, used in some older homes, has a well-known history of failures. A plumber can identify what is in your home.
| Pipe material | Common in | Typical failure modes |
|---|---|---|
| Copper | Many homes from mid-century onward | Pinhole leaks, joint failures, freeze splits |
| Galvanized steel | Older homes | Internal rust, restricted flow, leaks at threads |
| PEX | Newer construction and repipes | Fitting or crimp ring failures, rodent or UV damage |
| CPVC | Many homes from recent decades | Brittleness with age, cracked fittings |
| Polybutylene | Some homes built from the late 1970s to mid-1990s | Fitting and pipe degradation leading to sudden leaks |
| Cast iron (drain lines) | Older homes and buildings | Cracking and corrosion, causing gray or black water leaks |
If your home has galvanized or polybutylene supply lines, ask a plumber whether repiping makes sense. Some insurers ask about pipe materials when writing or renewing policies.
How is a burst drain line different from a burst supply line?
A supply line carries pressurized clean water into the building, so a failure releases a continuous flow of relatively clean water until the valve is closed. A drain line carries used water out by gravity, so leaks occur when fixtures are used and the water is gray or black from the start. Drain line leaks call for stricter cleanup, including removal of affected porous materials and sanitization.
- Supply line leaks: constant flow, larger volume, often Category 1 at first.
- Drain line leaks: intermittent, tied to fixture use, Category 2 or 3.
- Toilet overflows: category depends on contents; overflow with waste is Category 3.
- Main sewer line breaks: treated as sewage and covered in our sewage backup cleanup page.
What happens when a pipe bursts on an upper floor or in a condo?
Water from an upper-floor burst follows gravity through floor systems, light fixtures, and wall cavities, often damaging ceilings and rooms below more than the room where the pipe failed. In condos and apartments, it can affect neighbors, making prompt notification of the association or property manager essential. Responsibility and insurance coverage depend on where the pipe was located and the building's governing documents.
- Shut off the unit or building water, involving maintenance staff if needed.
- Warn occupants below and check their ceilings and walls.
- Turn off power to light fixtures where water is dripping.
- Document damage in every affected unit.
- Notify the HOA or property manager and your insurer.
- Have all affected areas inspected with moisture meters, including floor and ceiling cavities between levels.
See restoration services by property type for more on condos, apartments, and rentals.
How can you protect a vacant or seasonal home from burst pipes?
Vacant and seasonal homes face high risk because a burst can run for days or weeks before anyone notices. The most effective protections are shutting off and draining water when the home will be empty, maintaining heat during cold months, installing smart leak detectors and temperature alerts, and arranging regular check-ins. Some insurance policies require specific precautions for unoccupied homes.
Vacant property checklist
- Shut off the main water valve when leaving for extended periods.
- Drain supply lines by opening faucets at the lowest and highest points.
- Consider having a plumber winterize the system where appropriate.
- Keep the heat at a safe minimum in cold climates if water remains on.
- Install Wi-Fi leak sensors and low-temperature alarms.
- Arrange for someone to inspect the home regularly and document visits.
- Review your policy's vacancy and unoccupancy provisions.
What should you check after burst pipe cleanup is finished?
After drying and repairs, confirm the pipe repair holds, review final moisture readings, and watch for warning signs over the following weeks. Musty odors, new staining, bubbling paint, warped flooring, or rising water bills can indicate hidden moisture or a new leak. Keeping the documentation from your restorer and plumber helps if problems appear later or if you need to support an insurance claim.
- Request the final drying log and moisture readings.
- Keep the plumber's invoice describing the repair.
- Check the repaired area and surrounding rooms weekly for a month or so.
- Monitor your water meter with all fixtures off to confirm no leaks remain.
- Maintain indoor humidity at reasonable levels.
If rebuilding is still ahead, read about water damage repair and restoration. For timelines, see how long water damage restoration takes.
Is a failed water heater handled like a burst pipe?
Largely, yes. A leaking or ruptured tank, a failed supply connection, or a stuck temperature and pressure relief valve can release a large volume of water, and because the heater stays connected to the supply, water keeps flowing until the cold inlet valve or main is closed. Cleanup follows the same extraction and drying steps, with added attention to scald risk, gas or electrical safety, and the utility room floor and walls.
Water heater leak safety steps
- Turn off the power at the breaker for an electric unit, or set a gas unit to the off or pilot position following manufacturer instructions.
- Close the cold water supply valve on top of the heater, or the main shutoff.
- Keep away from hot water and the relief valve discharge, which can cause burns.
- If you smell gas, leave the building and call the gas utility from outside.
- Photograph the unit, its label, and the surrounding damage for your insurer.
- Call a plumber to evaluate repair or replacement, and a restorer to dry the area.
Water heaters in finished basements, closets, and attics can cause extensive damage below. A drain pan plumbed to a drain and a leak sensor with an automatic shutoff valve can limit future losses. Many policies treat the heater itself as a maintenance item while covering resulting water damage, so check your policy.
Frequently Asked Questions
What is the first thing to do when a pipe bursts?
Shut off the main water valve immediately. It is often located where the water line enters the home, such as a basement wall, crawlspace, utility room, garage, or an exterior box near the street. If water is near outlets, appliances, or the electrical panel, turn off power only if you can reach the breaker without standing in water. Then open faucets to drain remaining pressure and call a plumber and restorer.
Is water from a burst pipe clean or contaminated?
Water from a pressurized supply line typically starts as Category 1 clean water. However, it can become Category 2 or 3 as it passes through building materials, contacts dirty surfaces, or sits for more than a day or two. A burst drain line is different and may carry gray or black water from the start. A professional assesses category based on source, time, and what the water touched.
Does homeowners insurance cover burst pipes?
Many homeowners policies cover sudden and accidental water discharge from a burst pipe, including resulting damage to walls, floors, and belongings, while often excluding the cost of repairing the pipe itself. Frozen pipe losses may be excluded if the home was unoccupied and not heated or drained as required. Slow leaks are commonly excluded. Read your policy and talk with your agent or adjuster.
How long does it take to dry after a burst pipe?
Many burst pipe losses take about three to five days of drying with professional dehumidifiers and air movers, though some take longer. Water that saturated wall cavities, hardwood flooring, plaster, or concrete slabs can extend drying. Drying ends when moisture readings match unaffected reference materials, not on a fixed schedule. Reconstruction afterward adds its own timeline.
How do I know if a pipe is frozen?
Signs include little or no water from a faucet during freezing weather, frost visible on exposed pipes, bulging pipe sections, or strange odors from drains. If you suspect a frozen pipe, keep the faucet open, apply gentle heat with a hair dryer or space heater kept away from flammables, and never use an open flame. If you cannot locate or thaw it, call a plumber.
What are the signs of a slab leak?
Common indicators include a warm spot on the floor from a hot water line, unexplained increases in your water bill, the sound of running water when fixtures are off, damp or cracked flooring, mildew odors, a water meter that moves with everything turned off, and reduced water pressure. Plumbers use pressure testing, acoustic listening devices, and thermal imaging to locate slab leaks.
Should I open the walls after a pipe bursts?
Not necessarily yourself, and not before documentation. Professionals use moisture meters and thermal cameras to determine how far water traveled. Sometimes walls can be dried in place with cavity drying techniques; other times drywall and insulation must be removed, especially if saturated, contaminated, or behind vinyl wallpaper. The plumber also needs access to repair the pipe, so coordination helps minimize unnecessary openings.
Can a burst pipe cause mold?
Yes. Water from a burst pipe often soaks into wall cavities, insulation, and subfloors where it is dark and poorly ventilated. Microbial growth can begin within roughly 24 to 48 hours under favorable conditions. Rapid extraction, removal of saturated porous materials when needed, and controlled drying verified by moisture readings are the most effective ways to reduce mold risk.
How much does burst pipe water damage cleanup cost?
Typical national ranges run from roughly $1,000 to $5,000 for a single room caught early, and $5,000 to $15,000 or more when water spreads through walls, ceilings or multiple floors. Pipe repair by a plumber is usually billed separately. The final price depends on square footage, materials affected, and how long the water sat, so fast action keeps costs down. Call (833) 435-4276 24/7 and we'll connect you with a local restoration provider.
Can I clean up water from a burst pipe myself?
A small, clean-water leak caught within minutes can often be handled with a wet vac, fans and a dehumidifier. Once water has soaked into drywall, insulation, subfloor or carpet pad, DIY drying often leaves hidden moisture behind that leads to mold and warping. Professionals use moisture meters and commercial drying equipment to confirm materials are actually dry before rebuilding.
What should I ask a company before they start burst pipe cleanup?
Ask whether they hold the required state or local licenses, carry liability insurance, and follow IICRC drying standards. Request a written estimate, ask how they document moisture readings and photos for your insurance claim, and confirm whether they bill your insurer directly. Also ask who handles the pipe repair and the rebuild after drying is finished. Call (833) 435-4276 24/7 and we'll connect you with a local restoration provider.
Why did my pipe burst when it wasn't freezing outside?
Pipes also fail from high water pressure, corrosion in older galvanized or copper lines, loose fittings, water hammer, and damaged or aging supply hoses on appliances. A pipe that froze earlier may crack and only leak once it thaws. If you notice banging pipes, rusty water or pressure above about 80 psi, have a plumber inspect the system before a small weakness becomes a flooded room.